If you're thinking of switching to clipless pedals to improve your speed and efficiency you shouldn't be worried but you do need a plan. All it takes is a little practice and a few good tips to avoid demoralizing falls.
In my previous pedals article, I wrote about pedal options and I explained why we call modern pedals “clip-less” (even though we clip in). You can read it here.
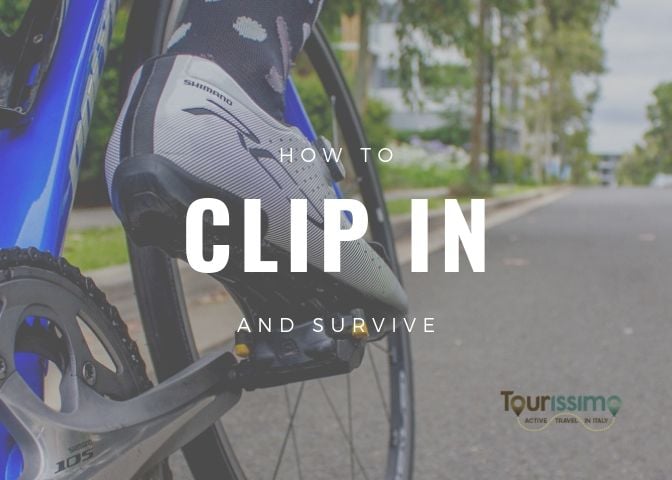
Clipping in and the Feeling of Being Trapped
That scary feeling of being trapped should not prevent you from moving forward. In fact, the whole point is to bind shoe and pedal and that is designed to improve your pedal stroke. It's not a medieval torture. Think about it: clip-less pedals are meant to keep your shoe sole engaged securely when pulling up.
Ok? Now, let me make another point: unless you rotate your ankle to unclip, the cleat won’t release and you’ll remain “trapped." Keep reading...
Beginner Tips for Clip-less Pedals
Clipping in is a process that can be learned and that can deliver miles and miles of efficient riding. However, the occasional fall – as every experienced rider will tell you – could be part of the learning process.
You don’t like it? You can go back to flat pedals or toe cages any time, but give it some time. The difference is amazing: more power transfer, better efficiency, more control.
First
I prompt you to start by installing your new pedals and by loosening the tension spring (90% of clip-less pedals have a spring that makes the system cleat+pedal tighter or looser). By loosening the tension spring you’ll find it much easier and almost effortless to unclip.
Second
Do this static exercise: install the cleats to your shoes and practice clipping in and out with the shoes in your hands (perhaps put your hand inside the shoe). That will make you realize how the engagement system works and the kind of force required to both clip in and out. You clip in by pushing down and forward while aligning cleat and pedal and then lowering and gently pushing the heel of the shoe (basically extending your leg a little).
Third
Hop on the bike next to a wall or pole, or a door frame and hold yourself. Clip in and out many times one foot at a time.
Fourth
Do not pull up when you want to unclip because it won’t work. Your muscle memory will tell you to do that because you are used to flat pedals but it won’t work with clip-less pedals.
I've found that this article that appeared in Bicycling magazine explains very well a classic mistake of trying to unclip by pulling up:
How to Start Riding Clipless Pedals Without Falling Over
Fifth
Instead, lightly press down on one of the pedals and angle out your heel.
Practice with both feet even though you’ll have a favorite one that feels more natural and that will be the one side that you will rely on most of the time. Because at times gravity will pull you to the other side, you must be ready to react bilaterally. Sixth
Find a grassy area and put markers such as water bottles 10 to 20 feet apart. Practice stopping and unclipping on one side on the way down and on the other side on the way back.
Seventh
Practice single leg pedaling. To understand the real benefits of clipping in and to teach your muscles how to take advantage of your new tools you must practice single leg pedaling. Find a traffic-free area (or the grassy area of the previous drill) and after a few pedal strokes with both legs, unclip one side and do 6 to 8 rotations pedaling only on the other side. Then practice on the other side. Use a medium to high gear for this exercise.
Eighth
Gradually tighten the tension spring until you reach a good compromise: too loose and you'll unclip unwillingly when you sprint or stand; too tight and you'll have a hard time unclipping quickly.
Ninth
Taking your clip-less pedal bike on the road for the first 10 times requires maximum concentration and quick thinking to anticipate the stops. Stay focused.

How to Properly Install Cleats
Place the cleat so that it engages with the pedal right at the metatarsus (just behind the ball of your foot) and that should be about where your foot naturally wants to sit. Next, adjust the rotation and and center left-right the cleat so that ankle and knee aren't forced into unnatural twists. After 50 miles, check and tighten the cleat screws again.
Related article- Types of Pedals and the Clip-in Dilemma